Android Jetpack Compose
Introduction to Jetpack Compose with the code samples in Kotlin
Table of contents
Introduction
Jetpack Compose is a modern toolkit for building native Android UI.
Android Jetpack Compose is a new declarative UI toolkit for Android. It simplifies and accelerates UI development on Android.
Jetpack Compose is a modern toolkit for building native Android UI. It's built on top of our open-source HyperImage library and provides abstractions that make it easy to write highly performant, intuitive user interfaces using standard Java components and layouts, without needing any knowledge of native libraries or build processes.
This looks great, so how do I get started?

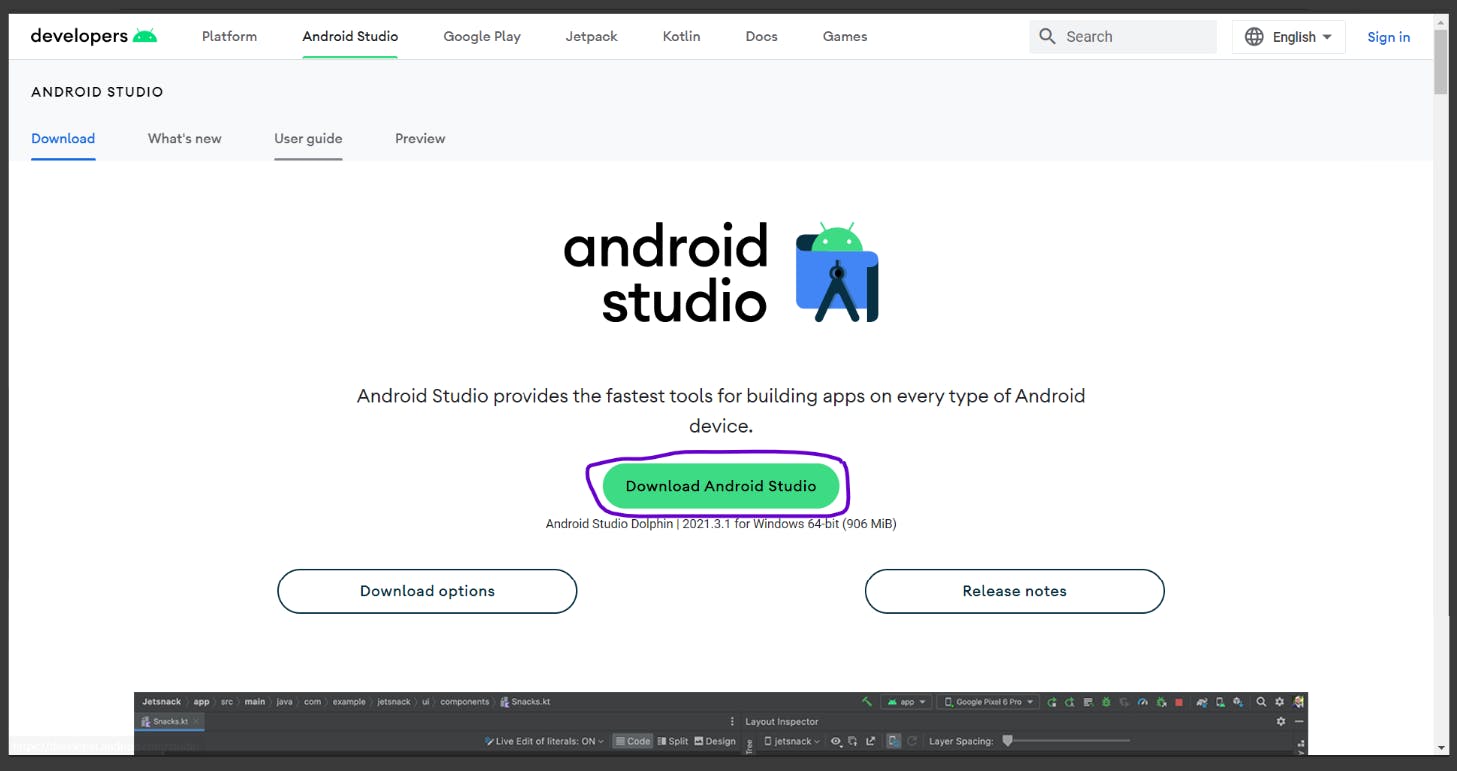
Step 1. download and install Jetpack Compose
Visit here to download android Studio
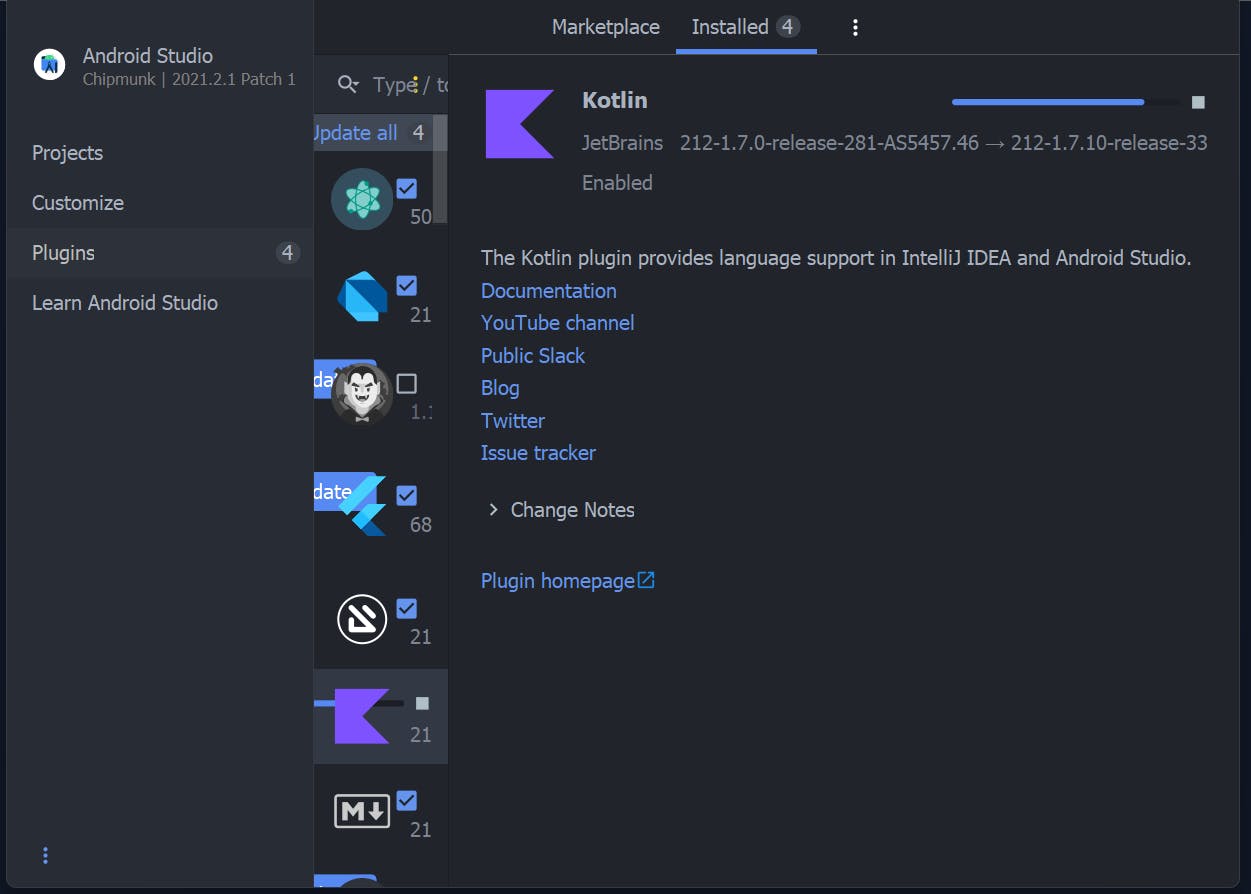
Step 2. install the Android Studio Kotlin plugin
Later open the android Studio and add the latest plugin of Kotlin to the application
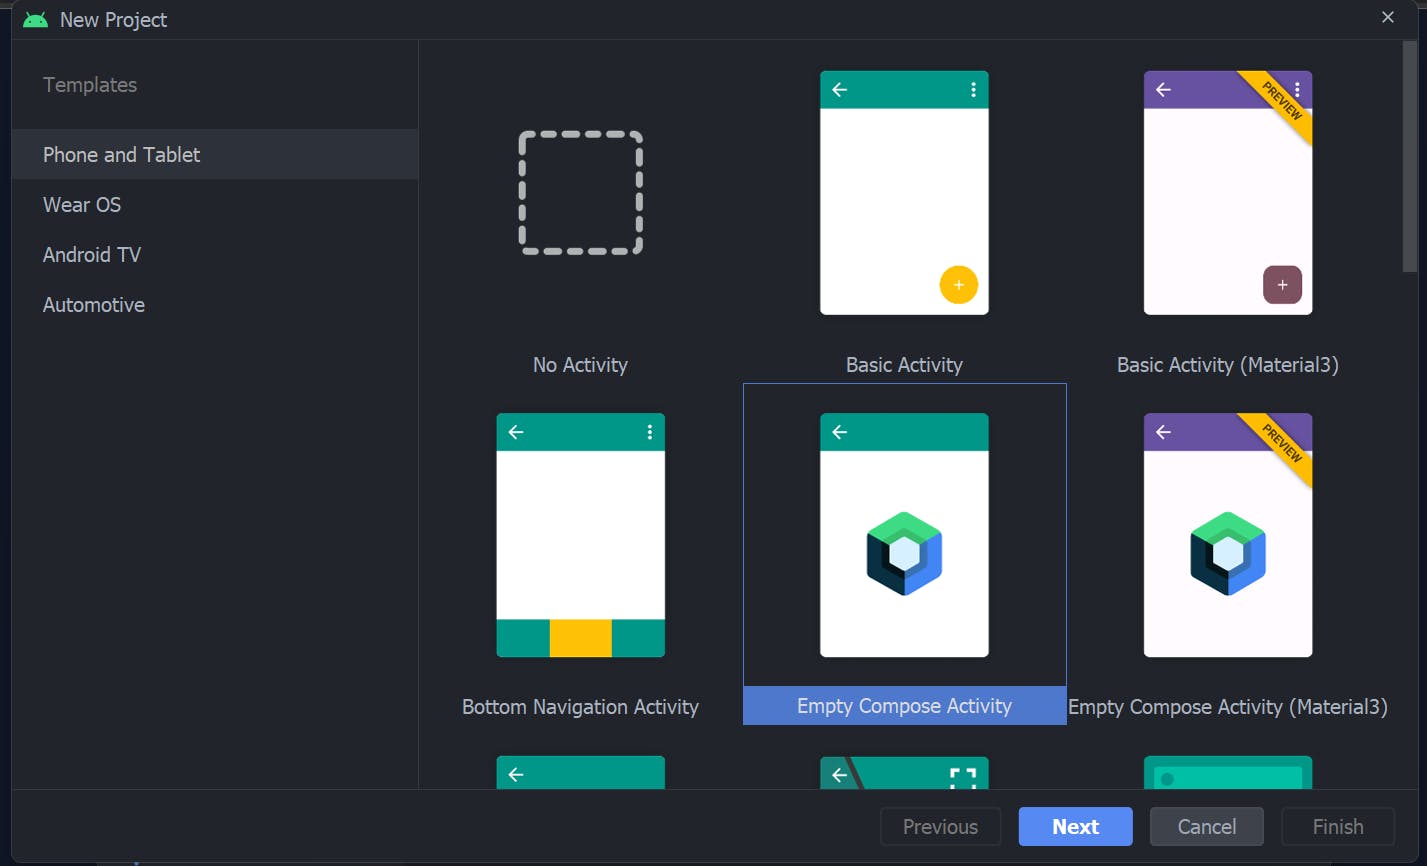
Step 3. create a new Android project
Click on the New project option and select Empty Jetpack Compose Activity as shown below
Later You can name your application as your choice and I will be named as ComposeCamp
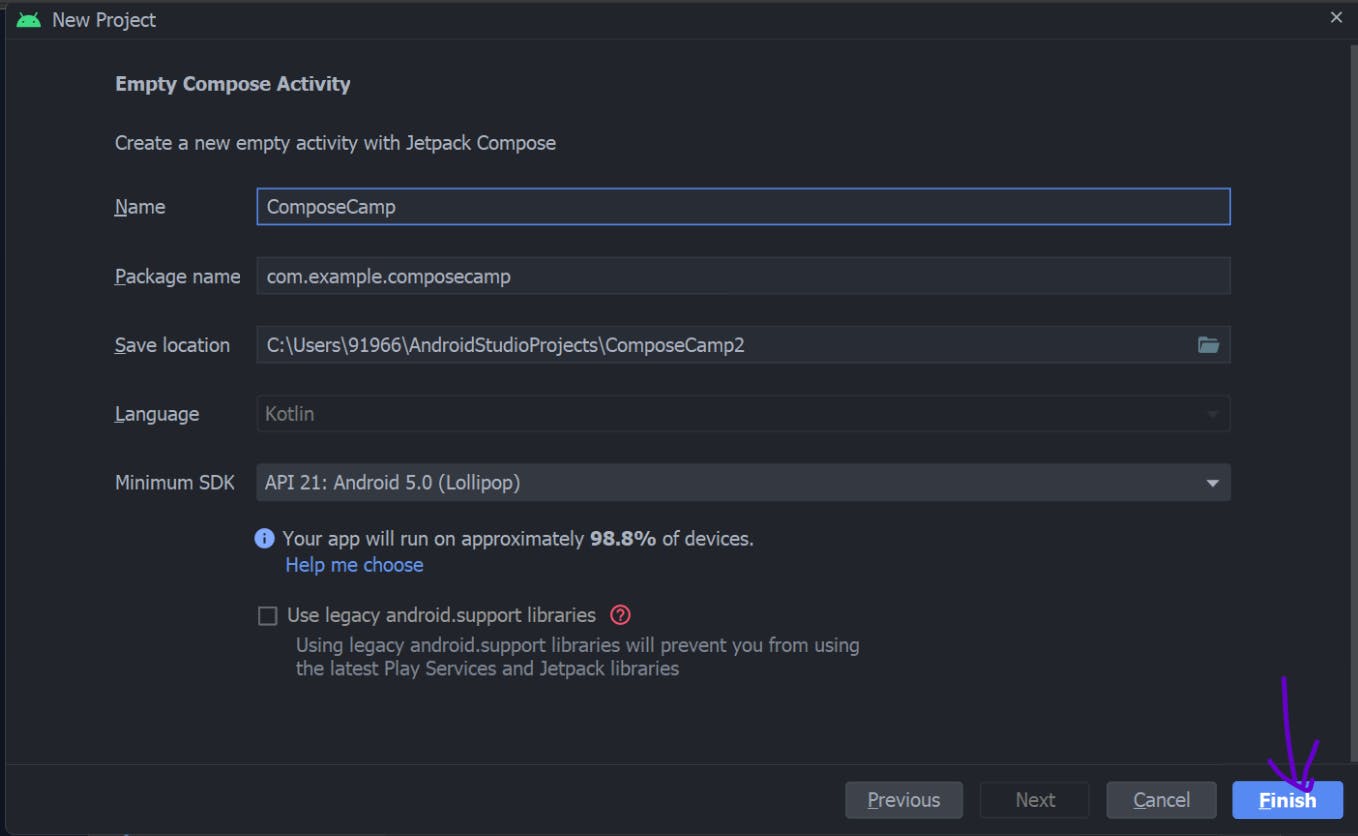
Click on Finish. Note that It can take 1-2 minutes to build all Gradle files
Step 4. Let's get into MainActivity.kt
The Kotlin file path will be
app/src/main/java/com/example/composecamp/MainActivity.kt
You can add code to this file and start making UIs with the Jetpack Compose
As you can see there is already generated kotlin code let us understand it
@ Composable
private fun Greeting(name: String) {
    Text( text = "Hello $name")
}
Composable is a keyword to declare and initialise a compose function and it contains a Text attribute which contains "Hello $name".
class MainActivity : ComponentActivity() {
    override fun onCreate(savedInstanceState: Bundle?) {
        super.onCreate(savedInstanceState)
        setContent {
            ComposeCampTheme {

             Greetings("Android")

            }
        }
    }
}
You can use the Preview option to see the application Ui on the go Here is the code for it
@Preview(showBackground = true)
@Composable
fun DefaultPreview() {
    ComposeCampThemeTheme {
        Greeting("Android")
    }
}
with the Flowing output as below
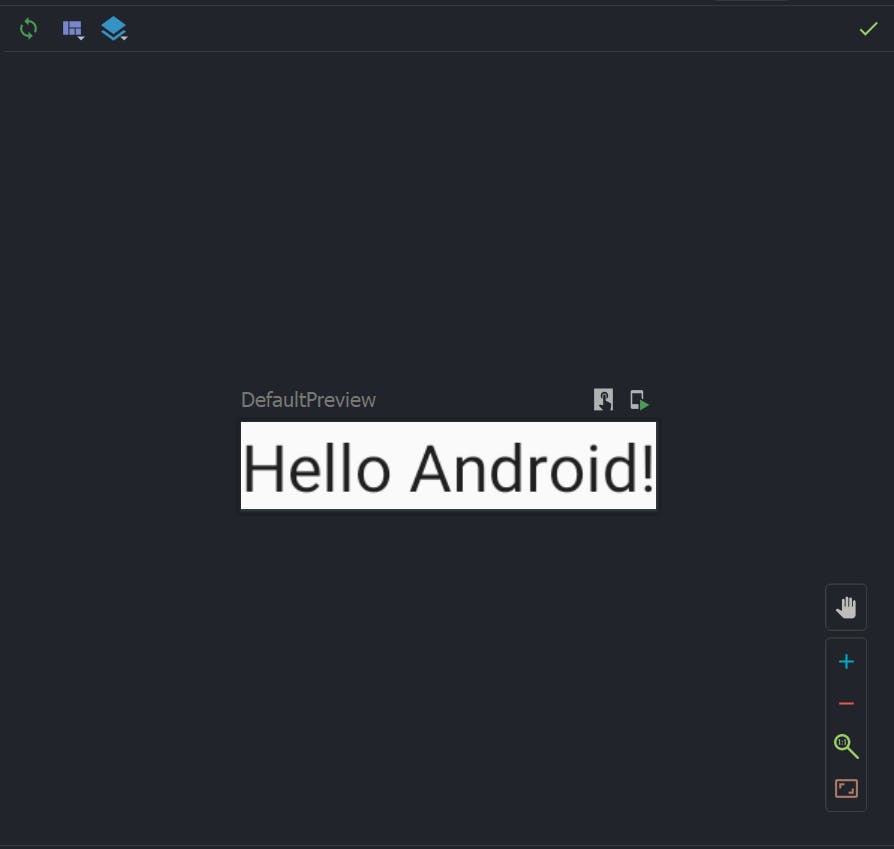
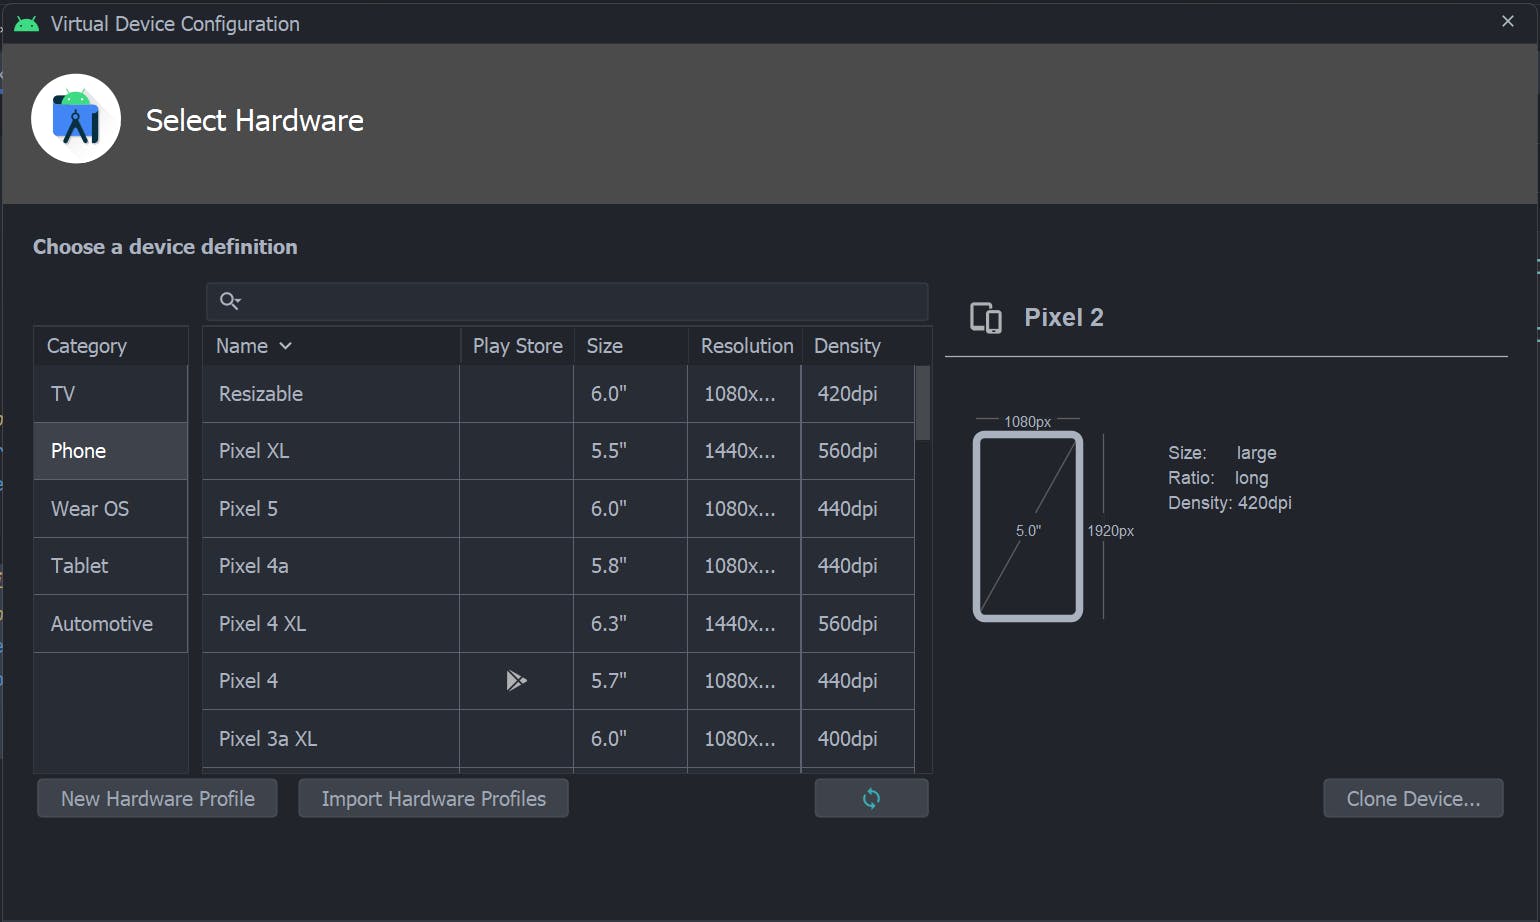
To run and test the application you can use the AVD(Android Virtual Device) Emulator in the android studio press
shift+F10
Select the Device on which you wanted to run the application and create an AVD emulator of it
Congo!!, In this way, you have created a basic application in the Jetpack Compose
Step 5. start building your app
Now as you get all the basic knowledge of the jetpack to compose. Let's get our hands dirty and learn about Jetpack compose by building a simple project
Below is the repository which shows the Final project in the Jetpack compose
Let make an app which show the content of text in a card view Below is the code for it
@Composable
private fun Greeting(name: String) {
    Card(
        backgroundColor = MaterialTheme.colors.primary,
        modifier = Modifier.padding(vertical = 4.dp, horizontal = 8.dp)
    ) {
        CardContent(name)
    }
}
where CardConten(name) is defined in another function as mentioned below
@Composable
private fun CardContent(name: String) {
    var expanded by remember { mutableStateOf(false) }

    Row(
        modifier = Modifier
            .padding(12.dp)
            .animateContentSize(
                animationSpec = spring(
                    dampingRatio = Spring.DampingRatioMediumBouncy,
                    stiffness = Spring.StiffnessLow
                )
            )
    ) {
        Column(
            modifier = Modifier
                .weight(1f)
                .padding(12.dp)
        ) {
            Text(text = "Hello, ")
            Text(
                text = name,
                style = MaterialTheme.typography.h4.copy(
                    fontWeight = FontWeight.ExtraBold
                )
            )
            if (expanded) {
                Text(
                    text = ("Composem ipsum color sit lazy, " +
                            "padding theme elit, sed do bouncy. ").repeat(4),
                )
            }
        }
        IconButton(onClick = { expanded = !expanded }) {
            Icon(
                imageVector = if (expanded) Icons.Filled.ExpandLess else Icons.Filled.ExpandMore,
                contentDescription = if (expanded) {
                    stringResource(R.string.show_less)
                } else {
                    stringResource(R.string.show_more)
                }

            )
        }
    }
}
Also the a function name greetings will be generate a string and pushing in the UI which will be implemented using LazyCloumn same as RecyclerView used in XML
@Composable
private fun Greetings(names: List<String> = List(1000){"$it"}) {
    LazyColumn(modifier = Modifier.padding(vertical = 4.dp)) {
        items(items = names) { name ->
            Greeting(name = name)
        }
    }
}
At last stage all of the function are combined and used in one of the function named as MyApp() Below is the code reference for it
class MainActivity : ComponentActivity() {
    override fun onCreate(savedInstanceState: Bundle?) {
        super.onCreate(savedInstanceState)
        setContent {
            ComposeCampTheme {
                // A surface container using the 'background' color from the theme
             Myapp()
            }
        }
    }
}
@Composable
fun Myapp(){
        Greetings()
    }
}
In this way, a beautiful UI is been made using the jetpack compose below is the image reference
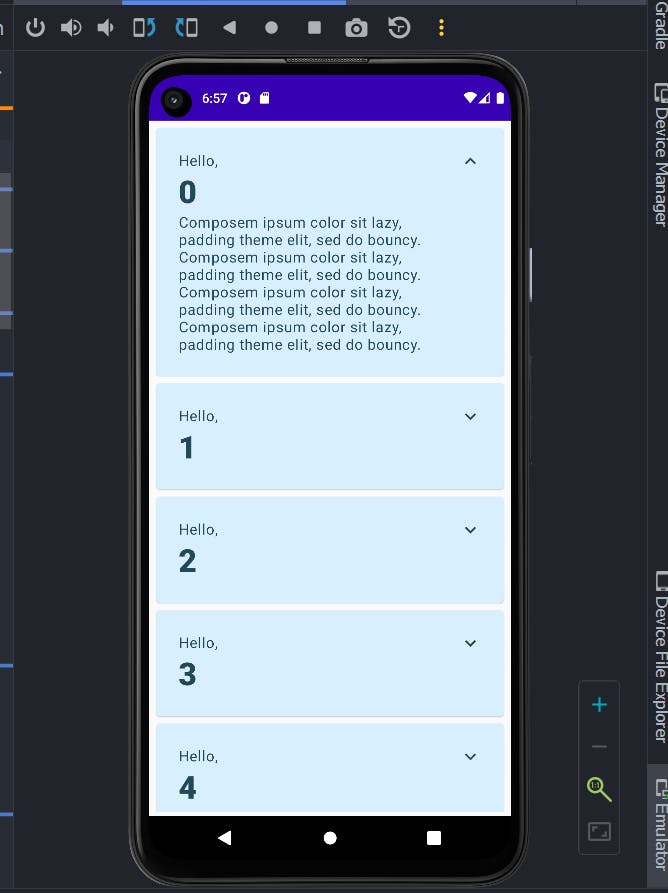
If you have stuck somewhere refer to below repository which contains all the solution of the given app in jetpack compose
Conclusion
Jetpack Compose is a new declarative toolkit for building native Android UI. It simplifies and accelerates UI development on Android. Jetpack Compose can take advantage of the existing Android APIs, libraries, tools, and Kotlin language features that you already use today.
Happy Coding. 💫🚀

If any changes are required or mistakes in the above blog, feel free to contact me.

